Samsung released 2017 Galaxy series phones, including A3, A5 and A7. Their common feature is to join
the IP68 dustproof waterproof function, and introduced the Galaxy S7
design style. It joins the metal frame and 3D glass body, will bring a
more comfortable feel. Samsung also strengthen the 2017 Galaxy A series
camera, A5 and A7 are loaded with 16 million pixel front camera. The
user can easily click anywhere in the screen to take pictures. In
addition, the Samsung A series have other models - Samsung Galaxy A8 and
Samsung Galaxy A9. If the user wants to buy A series phone, that's
really a lot of choices.

However, no matter which the phone you
use, you may accidentally delete the phone data. We always have a chance
to delete important data on the phone, no matter how careful you are.
Even if you delete the data in the phone, this is not irreparable.
Because, you can restore the deleted data once you ues Android Data
Recovery, such as contacts.
Android data recovery is a professional Android data recovery tool, which can be compatible with more than 6000 Android devices, including Samsung, HUAWEI, LG, ZTE, SONY and other Android phones. In addition, the software can also restore a variety of data, such as contacts, photos, music, video, text messages, call records, etc.. Its high resilience can help you deal with various data recovery issues. To recover deleted data or retrieve lost data, you can use it as an upgrade. Moreover, the steps are very simple.


Step 1: Download and install the free trial version on your computer. Then double click over the icon and open it. Plug your phone into the computer via USB cable.

Step 2: The software won’t detect your Android phone unless you allow it to do so. If USB debugging mode is opened on your phone, you will receive a pop-up message on the phone screen requiring the permission. Otherwise, you have to enable the USB debugging mode so as to move forward. The on-screen instruction from FoneLab will show you how to enable it, depending what Android version your Phone is.

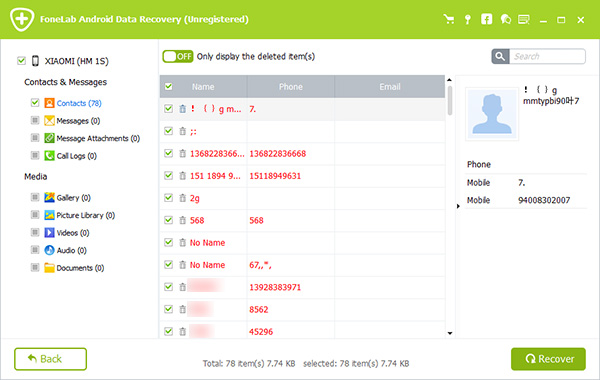
Step 3: Once the connection is complete, you have various file types to choose. Mark the box beside Contacts and click Next.

Step 4: If your Android smart phone has been rooted before, you will get a pop-up message on the screen, you should tap Allow/Grant/Authorize to allow the program get privilege of scanning data from your device. If not, the program will automatically root your phone via installing an app. Click Retry if still no respond.

Step 5: It will take some time for the scanning process. Once it is done, you are allowed to preview the contacts in details with name, phone number, email address, etc. Select those you want to save on the computer and click Recover. The contacts backup file is saved in VCF/CSV/HTML format for different usages.